

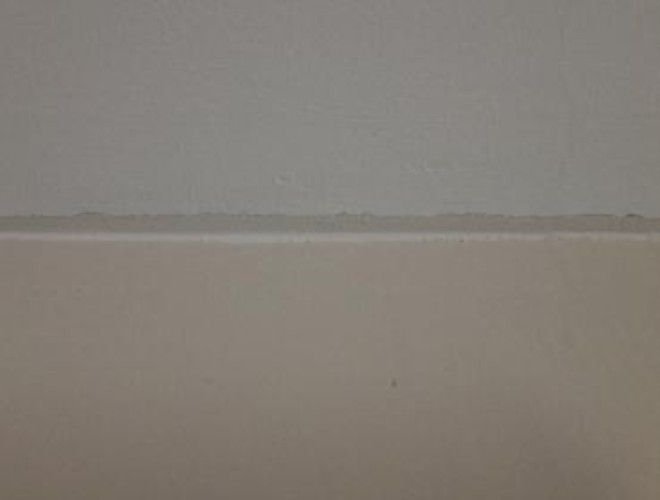
How To Repair Drywall Seams
Drywall seams, at times, have a tendency to cleft. Sometimes it's from a very subtle motion of the wall. Especially on walls nigh windows or doorways, any slamming of the door or window tin create a movement in the wall that, even though very slight, can create a crack in a drywall seam. Regardless of the cause of the cleft, it will need to be repaired. With a basic understanding of the process used to repair these cracks, along with the advisable tools and materials, you will be able to repair cracks in your drywall seams with little trouble.
Pace 1 - Fix the Crack For Filling
When you have located the crack to exist repaired, determine the severity of the crevice. If information technology is wider than a ¼ inch, or if the crack is near a door or window where the wall is more probable to shift or vibrate, you may demand more than than the standard repair.
Step two - Strip the Terminate, Plaster, and Tape from the Crack
You will be replacing the existing drywall tape, not taping over it. And so, you'll need to remove the tape and plaster. You can best do this past using a scraper. Push the edge of the scraper under existing drywall plaster and strength the plaster and newspaper away from the drywall surface and along the length of the crack. Remove enough of the plaster and paper that y'all'll accept a smooth surface on which to employ the new tape and mud. If necessary, utilize a coarse sandpaper to remove rough places on the wall surface almost the crack.
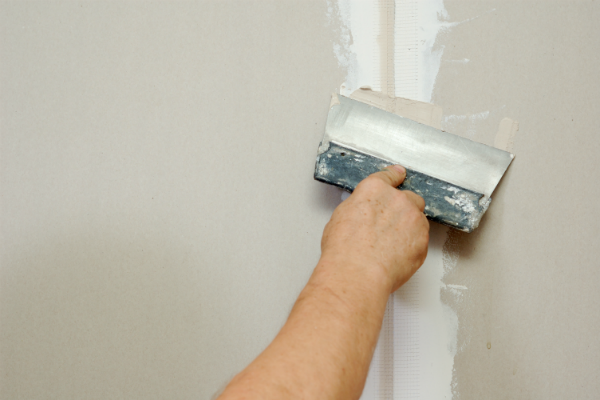
Footstep 3 - Apply a Bed of Mud
Mix a small amount of drywall mud with water to thin the mud. Then, load some of this thinned mud on your joint pocketknife and apply it over the scissure, by moving your joint knife with the mud on information technology down the fissure. Be sure you leave enough mud on the wall along each side the crevice that is as wide as the drywall paper you'll exist applying to the crack.
Footstep 4 - Employ the Drywall Newspaper Record
Cut a strip of drywall tape long plenty to cover the crevice in your seam. Press this strip into place against the mud bed, using merely enough pressure against the pocketknife so that the tape adheres to the mud bed simply doesn't create a dent. Position your joint pocketknife with the blade horizontal across the adhered record. With the knife blade at a 45-degree angle, press the knife edge against the tape and depict it down the tape to smoothen mud edges and adhere the strip to the mud bed. Shine away obvious ridges in the mud to make the mud strip as smooth equally possible.
Step 5 - Sand the Seam and Reapply Mud
Allow the drywall mud on the seam to dry. Use your sandpaper to smooth away any ridges or bumps. Then, with your knife again loaded with thinned drywall mud, bladder information technology downwardly the seam, matching the surface with that of the wall effectually it. Let it dry out, sand again, and y'all are now ready to use primer.
Warning: To avoid getting any drywall mud particles into your eyes or lungs, clothing rubber glasses and a face mask while sanding (specially if you utilize an electric sander rather than sanding by hand).
Source: https://www.doityourself.com/stry/how-to-repair-drywall-seams
0 Response to "How To Repair Drywall Seams"
Post a Comment